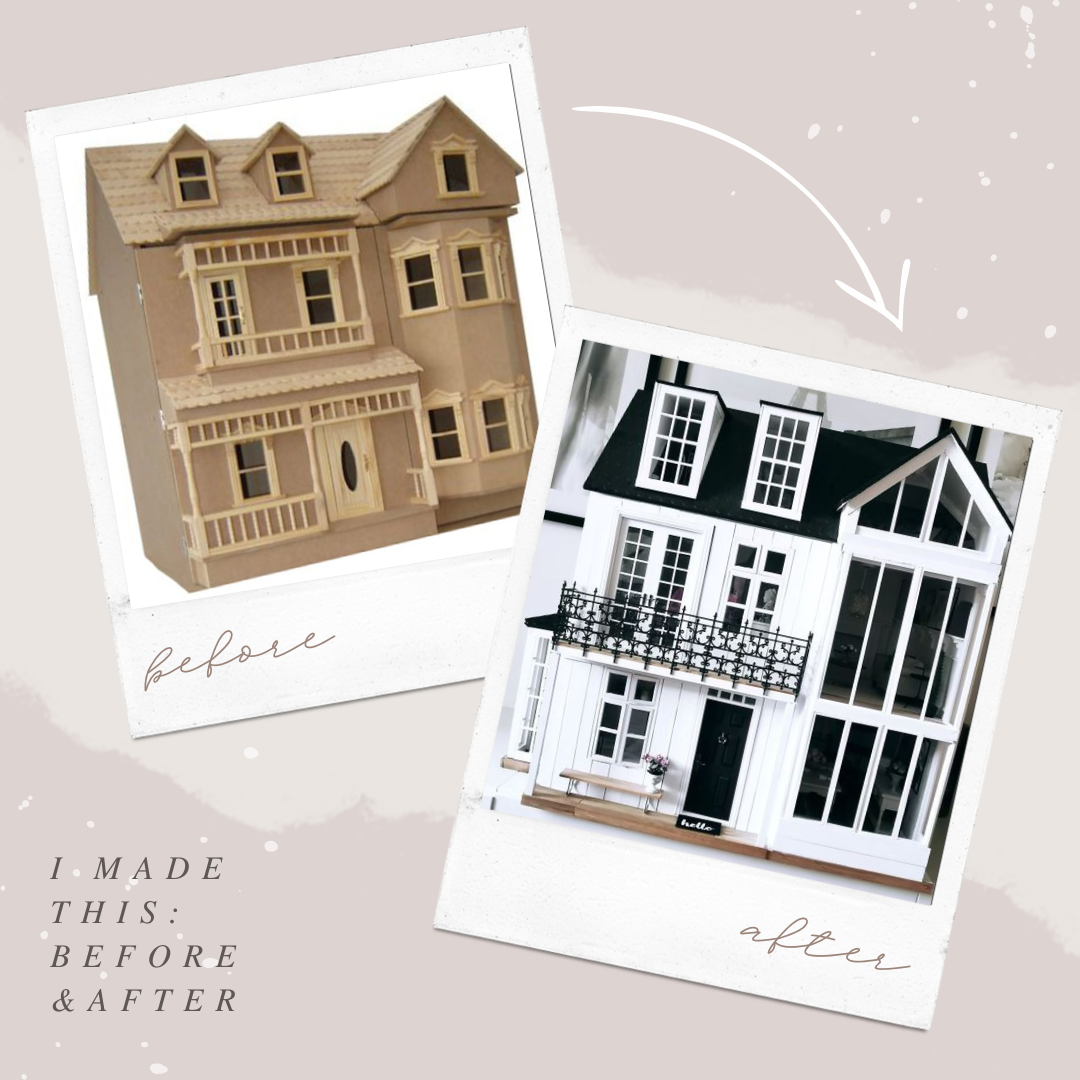
Kit Assembly Guide
If you haven't built a dolls house kit before you are probably unsure what to expect.
Dolls house kits are supplied in a large box and cut into parts which need to be glued together and painted to create a finished dolls house.This guide is here to help anyone considering purchasing their first dolls house kit and also to provide some useful guidance and tips to help avoid common mistakes.
Materials & tools needed:
PVA wood glue
Sandpaper
Screwdriver
Sufficient working space
Tape measure
An extra pair of hands can be useful.
All of our dolls house kits come with instructions that highlight all of the parts you will be working with, you can then lay these out in an organized way to make it easier for you to find them. You should also check to ensure all parts are there and check to see if any parts are damaged before you start to piece your dolls house together.
If there are any questions or issues with the kits please contact us.
We highly recommend that you assemble your doll's house without glue, you can assemble the doll's house making sure the parts are positioned correctly and fit together properly.
If you make a mistake you can easily fix it, you should follow the instructions provided with your kit to build your doll's house.
Once you are happy with your dollhouse you can now glue this together, this process is mostly the same except PVA wood glue should be applied to the joint surfaces before locating each part.
It is strongly recommended that ALL parts are assembled and correctly located and that the whole house sits flat and square during final assembly until the glue has dried.
After the house has been built and the glue has completely dried the front opening panels can be attached using the hinges provided within the box.
Once these are added your house is ready!


-600x600.png)
